Friday, May 6, 2022

Wintery Cable Hat


Taking inspiration from the mission and guidelines of Wool-Aid, Wintery Cable Hat is designed to create a hat for a child who lives in the coldest climate and has the least access to resources. The hat can be knit in a weekend, or two, making it a perfect gift, accessory or for charity. This may be considered an advanced beginner level pattern because knowledge of stitch construction is helpful.

Finished sizes:

Child: flat 12”, stretches to 20”circumference, height 9”

Gauge: (size US#8 needles) 4 stitches =1” flat 2x2 ribbing. Adjust needle size to match gauge.

Materials: Yarn: Wool or wool blend in Bulky weight: 125 yards/3.5 oz; 112meters/100grams

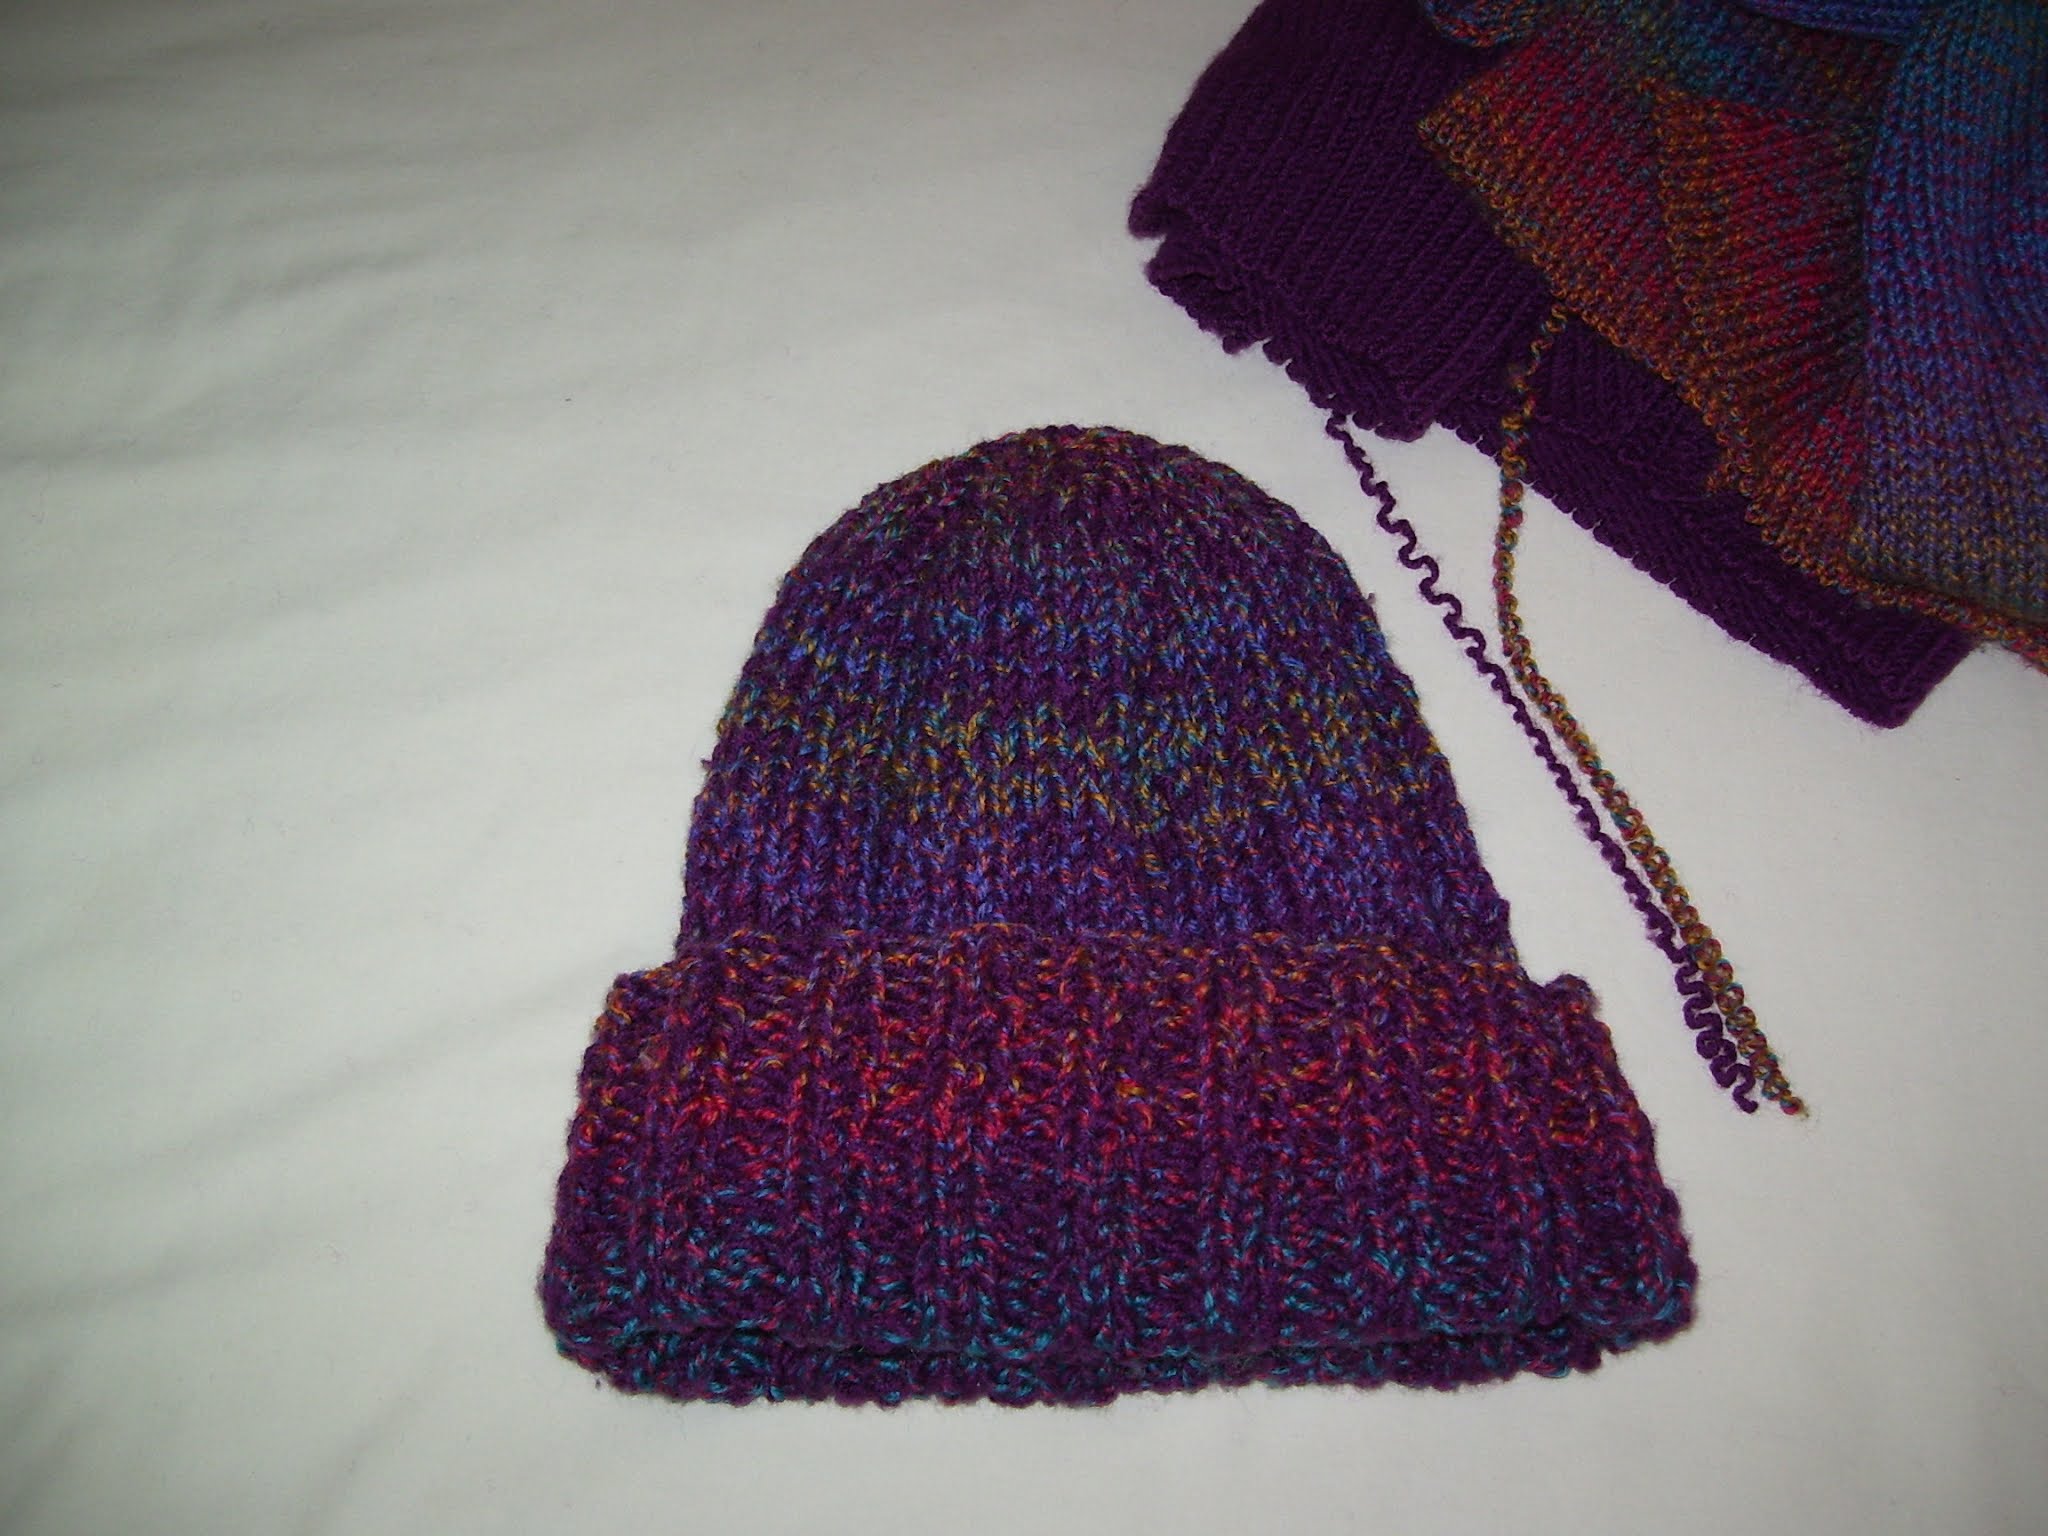
Photo: Wintery Cable Hat is knit in Plymouth Galway Chunky;

color: 142 over-dyed with red food coloring.

Needles: Size US#8(5mm), 16” circular needles, set size US#8 double pointed needles

Notions: Stitch markers, cable needle, tapestry needle

Abbreviations: CO=cast on       k=knit       k2tog=knit 2 stitches together      p=purl     

p2tog=purl 2 stitches together      pm=place marker      Rnd/s = round/s       sts = stitches

*=repeat from * to end       C4f= cable 4 front      M1=make one

Special Stitches:

C4f=cable 4 front: Slip 2sts to cable needle and hold in front, knit2 from left-hand needle, then knit2 from the cable needle.

M1=make one: I prefer the M1 (m1tbp): place point of working (right-hand) needle behind other needle, inserting needle from the top through the purl stitch below next stitch, and knit, then knit the stitch above.


Directions: Directions are written for size child. (Notes in Italic) The cable detail is worked through 30 stitches. A larger hat can be made by adding groups of 4sts and worked through the k2, p2 rib.

Use the long-tail cast-on method, with size US#8, 16” circular needles, cast on 60 stitches.

Place marker & join together by knitting first stitch being careful not to twist.

Brim Rnds 1-12: * Knit 2, purl 2; repeat from * to end


Increase /set up Rnds:

Rnd 1: Knit

Rnd 2: (K2, p2)3times, pm, (M1,k1, M1,k1, p2, k2,p2)3times, pm, * k2, p2; repeat from * to end                                                                                                                                             (66sts)

Rnd 3: Knit

Rnd 4: (K2, p2)3times (C4F, p2, k2, p2)3times, * k2, p2; repeat from * to end


Hat Rnds:

Rnd 1: Knit

Rnd 2: (K2, p2)3times, (k4, p2, k2, p2)3times, * k2, p2; repeat from * to end

Rnd 3: Knit

Rnd 4: (K2, p2)3times, (k4, p2, k2, p2)3times, * k2, p2; repeat from * to end

Rnd 5: Knit

Rnd 6: (K2, p2)3times, (C4F, p2, k2, p2)3times, * k2, p2; repeat from * to end

Work hat to 8” and completing Rnd 6.

For a taller hat, or deeper fold-up brim work extra rounds before starting the crown decreases.


Crown Decreases: Change to double pointed needles when needed.

Rnd 1: Knit

Rnd 2: (K2, p2tog)3times, (k4, p2tog, k2, p2tog)3times, * k2, p2tog; repeat from * to end

Rnd 3: Knit

Rnd 4: (K2tog, p1)3times, (k2tog, k2tog, p1, k2tog, p1)3times, * k2tog, p1; repeat from * to end

Rnd 5: Knit

Rnd 6: (K1, p1)3times, (k2tog, p1, k1, p1)3times, * k1, p1; repeat from * to end

Rnd 7: Knit

Rnd 8: K1, * k2tog; repeat from * until 8sts remain.

Finishing: Cut 12” yarn, and thread end through remaining stitches. Pull together, and tie off neatly. 


This pattern is available on marilynnsgardenknitdesign.blogspot.com

The pattern pdf is available on Ravelry.com

Copyright 2022, Marilynn Blacketer. All rights reserved. 5/6/22

For pattern support please contact: marilynnblacketer@gmail.com


Tuesday, February 22, 2022

Simply Chevron (Chunky) Hat


Taking inspiration from the mission and guidelines of Wool-Aid, Simply Chevron (Chunky) Hat is designed to create a warm woolen hat for a child who lives in the coldest climate and has the least access to resources.  Simply Chevron (Chunky) Hat works well in wool. The hat is worked in diagonal left & right stitches (400 knitting stitches, p30, 31) giving the knitter something interesting to do, but keeping the texture simple enough for either gender. This hat takes just a few hours to knit, and makes the Simply Chevron (Chunky) Hat perfect for gifts or charity.

Finished sizes:

Adult/Teen: flat 16”, stretches to 22”circumference, height 10”

Child/Toddler: flat 12”, stretches to 20”circumference, height 8”

Gauge: 4 stitches = 1” Adjust needle size to match gauge.


Materials:

Yarn: wool in chunky or bulky weight

Adult/Teen: 100 yards / 3.5 oz; Child/Toddler: 75 yards /1.75oz

Photo: (child) Chevron (Chunky) Hat is knit in Plymouth Yarn, Galway Chunky; 100% pure wool; color: 145 green  (Two Toddler hats could be made from one skein of yarn.)

Needles: Size US#8, 16” circular needles, set size US#8 double pointed needles

Notions: Stitch markers, tapestry needle

Abbreviations: CO=cast on      K=knit       k2tog=knit 2 stitches together       p=purl   Rnd/s=round/s      sts = stitches


Special Stitches: Chevron (these 24 stitches and 12 rounds create the chevron pattern)

Rnds 1, 2: p1, k5, p1, k10, p1, k5, p1

Rnds 3, 4: k1, p1, k5, p1, k8, p1, k5, p1, k1

Rnds 5, 6: k2, p1, k5, p1, k6, p1, k5, p1, k2

Rnds 7, 8: k3, p1, k5, p1, k4, p1, k5, p1, k3

Rnds 9, 10: k4, p1, k5, p1, k2, p1, k5, p1, k4

Rnds 11, 12: k5, p1, k5, p2, k5, p1, k5


Directions: Directions are written for adult/teen size. [child/toddler directions are in brackets]  

(Notes in italic)

Use the long-tail cast-on method, with size US#8, 16” circular needles. Cast on 72 [48] stitches.

Place marker & join together by knitting first stitch being careful not to twist.

Brim: Rnds 1-15[12]: * Knit 1, purl 1; repeat from * to end  (3", [2.5"])


Hat: Continue with size US#8 needles, (place maker after 24sts for repeats)

Rnds 1, 2: * P1, k5, p1, k10, p1, k5, p1; repeat from * to end

Rnds 3, 4: * K1, p1, k5, p1, k8, p1, k5, p1, k1; repeat from * to end

Rnds 5, 6: * K2, p1, k5, p1, k6, p1, k5, p1, k2; repeat from * to end

Rnds 7, 8: * K3, p1, k5, p1, k4, p1, k5, p1, k3; repeat from * to end

Rnds 9, 10: * K4, p1, k5, p1, k2, p1, k5, p1, k4; repeat from * to end

Rnds 11, 12: * K5, p1, k5, p2, k5, p1, k5; repeat from * to end

Work the hat in pattern for 9” [7"] from CO ending on rnd 12.

For a taller hat, or fold-up brim work extra rounds of the pattern before starting the crown decreases.


Crown decrease: Change to double pointed needles when needed.

Rnd 1: Knit

Rnd 2: * K3, k2tog, (K6, k2tog)twice, k3; repeat from * to end

Rnd 3: * K2, k2tog, (K5, k2tog)twice, k3; repeat from * to end

Rnd 4: * K1, k2tog, (K4, k2tog)twice, k3; repeat from * to end

Rnd 5: * K2tog, (K3, k2tog)twice, k3; repeat from * to end

Rnd 6: * K2tog; repeat from * until 9,[6] sts remain.

Finishing: Cut 12” yarn and thread end through remaining stitches.

Pull together, and tie off neatly.

Today is 02-22-2022!  Let's see if I can post this at 2:22pm!

This pattern is available on marilynnsgardenknitdesign.blogspot.com

Copyright 2022, Marilynn Blacketer. All rights reserved. 02-22-2022

For pattern support please contact: marilynnblacketer@gmail.com


Thursday, July 22, 2021

I'm not sure what happened! 7/22/21

WOW! I'm not sure what happened but the posting page is/was now in script/code  rather than blogger.  

I'd published  a  July 2020 post of  "new blogger".  In that, when you see <       >  that changes things to script/code.  I started this new post, and saw the <     > symbols up in the left hand corner, crossed my fingers and clicked.  Yes, looks like I'm back to what I want.  Thank you for understanding.  

Let me find a smiling photo!


Up-Cycled Beanie

The Up-Cycled Beanie is designed to utilize stash, or re-purposed yarn in a bulky weight, or working with 2 worsted weight yarns held together throughout. The hat can be knit in a weekend, or two, making it a perfect gift, accessory or for charity. This may be considered an advanced beginner level pattern because knowledge of stitch construction is helpful. If finished neatly, it's reversible!


 Finished sizes:

Adult: flat 18”, stretches to 24”circumference, height 12

Child: flat 16”, stretches to 22”circumference, height 10”

Gauge: (size #10 needles)4 stitches =1” stockinette. Adjust needle size to match gauge.


Materials: Yarn: Wool or wool blend in Bulky weight, or 2 worsted weight yarns held together.

Adult: yarn held together: 317yards/150grams; Child: 230 yards /105grams


Photo: Up-Cycled Beanie is knit in re-purposed: Worsted Merino Superwash Solids by Plymouth Yarn

100% Merino, 218 yards / 100 grams.

Held & worked together with re-purposed: Painted Sky by Knitting Fever Worsted superwash

100% Wool 218 yards / 100 grams


Needles: US#9(5.5mm) and #10(6mm), 16”, circular needles, set US#10 double pointed needles

Notions: Stitch markers, tapestry needle


Abbreviations: CO = cast on      K = knit      p = purl       k2tog= knit 2 stitches together      k2togbl=knit 2 stitches together through back loop       p2togbl=purl 2 stitches together through back loop       pm=place marker       sm=slip marker     Rnd/s = rounds       st/s = stitch/es

Directions: Directions are written for size adult, [child in brackets]. (Notes in Italic)

Use the long-tail cast-on method, with size US#9, circular needles, cast on 72,[60] stitches.

Place marker & join together by knitting first stitch being careful not to twist.


Rib Rnds: * Knit 2, purl 2; repeat from * to end

Work rib 4”[3”] from CO or desired height.


Hat Rnd Set up: With US#10 needles, * Knit 10, purl 2, pm; repeat from * to end

Hat Rnds: * Knit 10, purl 2, sm; repeat from * to end

Work hat 11”, [9] from CO.

For a taller hat, work extra rounds before starting the crown decreases.


Crown Decreases: Change to double pointed needles when needed.

Rnd 1: * K2togbl, k6, k2tog, p2, sm; repeat from * to end

Rnd 2: * K8, p2togbl, sm; repeat from * to end (p2togbl makes a very reversible hat)

Rnd 3: * K2togbl, k4, k2tog, p1, sm; repeat from * to end

Rnd 4: * K6, p1, sm; repeat from * to end

Rnd 5: * K2togbl, k2, k2tog, p1, sm; repeat from * to end

Rnd 6: * K4, p1, sm; repeat from * to end

Rnd 7: * K2togbl, k2tog, p1, sm; repeat from * to end

Rnd 8: * K2, p1, sm; repeat from * to end

Rnd 9: * K2togbl, p1, sm; repeat from * to end

Rnd 10: * K1, p1, remove marker; repeat from * to end


Finishing: Cut 12” yarn, and thread end through remaining 12 [10] stitches.

Pull together, and tie off neatly for an interestingly reversible hat. 

Photos of the process: 

Select sweaters, needles and pattern.  I'd knit these sweaters and knew they were constructed top-down.  Once the buttons and button bands were removed, I started unraveling the yarn at the hem to work the Up-Cycled Beanie.


I worked the adult hat to 11".   It was time to start the crown decreases.


Crown decreases completed. It was time to "Cut 12” yarn, and thread end through remaining 12 stitches. Pull together, and tie off neatly for an interestingly reversible hat."


Up-Cycled Beanie!


With yarn/sweater remaining, I unraveled more yarn and started the child's hat.  I'd knitted the sweaters and knew where/how to pick the yarn to remove the sleeves.  From there, I could keep working by unraveling  more yarn through the yokes.

Two Up-Cycled Beanies!  The adult beanie is turned inside-out so you can it as reverse stockinette. 

This pattern is available on MarilynnsGardenKnitDesign.blogspot.com

Up-Cycled Beanie pattern pdf  is available on Ravelry.com

Copyright 2021, Marilynn Blacketer. All rights reserved. 7/22/21

For pattern support please contact: marilynnblacketer@gmail.com


Monday, May 10, 2021

Woolie Socks (Sun Dyed fingering Yarn)


5-10-21 I'm starting with a photo... I'll update the photos as the pair of socks are finished.  I'm designing another pattern and wanted the socks and yarn posts together!

Taking inspiration from the mission and guidelines of Wool-Aid, the Woolie Socks are designed to create a warm woolen pair of socks for a child who lives in the coldest climate and has the least access to resources. The Woolie Socks are worked with worsted weight wool yarn held with a fingering superwash wool blend. The socks are worked with a K1 x P1 cuff, and K3 x P1 leg and instep. These socks utilize an after-thought heel. The pattern is written with modifications for three sizes. This may be considered an intermediate level pattern because knowledge of sock and stitch construction are helpful.

Finished size: foot length 10”[9”, 8”] leg height 10”[9”, 9”]

Gauge: 5 stitches, 6 rows = 1” Adjust needle size, and row count to match gauge.

Materials: Yarn: 100% wool in worsted weight, held with superwash wool blend in fingering weight,

and 3 yards worsted waste yarn for set up after-thought heel

Photo: Wool of the Andes Worsted by Knit Picks, 2 skeins 100%Wool; 110 yards / 50grams, ; 2x 110 yards / 50grams  = 220yards/100grams color 25066; Stroll Fingering by Knit Picks; 75% Wool, 25% Nylon; 462yards / 100 grams;  color: bare hand-dyed, Sun Dyed with Safeway food coloring.

Needles: Size US#8(5mm), 12”, or 16”and 24” circular needles or size US#8 set double pointed needles to Cast On.

Size US#7(4.5mm), 16”and 24” circular needles or size US#7 set double pointed needles

(and smaller set double pointed needles to pick up stitches for after-thought heel)

Notions: tapestry needle, stitch markers

Resources: Socks Soar on Two Circular Needles, by Cat Bordhi;

Wool-Aid: Zannie’s general recipe for worsted + sock on size 7 needles:

https://www.ravelry.com/groups/wool-aid/pages/SOCKS-6

Abbreviations: CO= cast on K = knit

p=purl k2tog=knit 2 stitches together

MC=main color N=needle Rnd/s=round/s st/s=stitch/es

Directions: The directions are written for size teen,[child, small child in brackets], and working

with 2 circular needles. (notes are in italic) Make 2 socks.

With US#8(5mm) needles, use the long-tail cast-on method to cast on 40[36, 32]stitches.

Place marker & join together by knitting first stitch being careful not to twist.


Cuff Rnds 1- 14[12, 10]:With US#7(4.5mm) needles * K1, p1; repeat to end (2.5”[2.25”, 2”])


Leg Rnds: * K3, p1 repeat to end.

with 20[-,16] sts per needle, * K3, p1; repeat to end.

with [18sts per needle] N1: * K3, p1; repeat to last 2sts, k2. N2: k1,p1, * k3, p1; repeat to end

Work K3, p1 rib for leg 8”[7”,7”] from CO for desired height.


Instep and Heel set up:

With 20[-, 16sts] per needle, work front/instep N1 as established: * K3, p1; repeat to last st, do not knit last stitch, slip last stitch to back needle. (Now, 19, 21sts per needle [-, 15, 17sts per needle]

With [18sts per needle] Knit and move the first stitch to the back needle, work front/instep

N1: K2, p1 * K3, p1; repeat to last 2sts, k2. [Now, 17, 19sts per needle]


At this point, YOU are welcome to  work the German Short Row Heel as presented by Knit Purl Hunter, and skip the Heel set up. 

German Short Row Heel:  Leave center 7[5, 5] stitches unworked.


Heel set up: N2: Drop MCyarn, and with a strand of different colored yarn knit across heel 21[19, 17] stitches. Turn, and with the strand of different colored yarn purl back across heel to end/beginning of needle. Drop colored strand, pick up MC, and knit across heel 21[19, 1 7] stitches once more. After this, work instep as currently established, and knit sole; the heel will be put in later.

Instep and Sole: Work instep as established, and knit sole until sock measures from heel (colored yarn) marker     6”[5”, 5”] for desired length.     

German Short Row Heel: Work instep as established, and knit sole until sock measures  8"[ 7",7"] for desired length.


Toe: Rnd 1 & odd rounds: (instep) * K1, k2tog, knit to the last 3 stitches on needle, k2tog, k1;

repeat from * to end(sole) (4sts decreased)

Rnd 2 & even rounds: Knit

Continue until 9[7,7]sts remain for instep, and 11[9,9]sts remain for sole.

This last Rnd 2: (instep) Knit 9[7,7]sts, (sole) K2tog, knit to last 2sts, k2tog

With 18[14, 14] stitches remaining, cut 18” yarn, and work Kitchener Stitch to finish the toe.

YOU worked the German Short Row Heel by Knit Purl Hunter.  YOU do not need to work the after-thought heel.


Heel:

Carefully slide the 21[19, 17]sts below(sole), and 21[19, 17]sts above the colored yarn(leg) to needles.

Carefully remove the colored yarn.

Attach MC yarn, pick up one stitch at the beginning of needle, as you knit a round, pick up one stitch at

the end of the needles. (46sts = 23sts per needle, and this will help avoid “holes” on the heel sides.)

[42sts = 21sts per needle, and this will help avoid “holes” on the heel sides.]

[38sts = 19sts per needle, and this will help avoid “holes” on the heel sides.]

Now, work the heel the same as the toe.

Rnd 1 & odd rounds: * K1, k2tog, knit to the last 3 stitches on needle, k2tog, k1;

repeat from * to end (4 sts decreased)

Rnd 2 & even rounds: Knit

Continue until 9[7,7]sts remain for leg, and 9[7,7]sts remain for sole.

With 18[14,14] stitches remaining, cut 18” yarn, and work Kitchener Stitch to finish the heel.

Finishing: Weave in tails. Make second sock.


This pattern is available on MarilynnsGardenKnitDesign.

Woolie Socks pattern pdf available at Ravelry.com

Copyright 2021, Marilynn Blacketer. All rights reserved. 5/10/21

For pattern support please contact: marilynnblacketer@gmail.com


Thursday, May 6, 2021

Sun Dyed Yarn


The 5 hanks of Knit Picks bare Stroll fingering arrived!  I tied each hank with a couple more ties.  Our weather was beautiful, so I took the process outside. 


Supplies & Process:

Soaked 5 hanks of bare fingering in 8c water& 1c vinegar for 30 minutes.
Gathered jars, food color, gloves, table cloth, apron.
Boiled big pot of water....carefully carried that to the garden.
In jam jars: 1/4c vinegar & 3/4c water, added 10drops food color.


In quart jars: (I kept yarn wet with the soak) Placed 1/4hank into one jar, 3/4hank into the next.  I was mindful of the color wheel as I added the color solutions: green, blue, purple, red, yellow.... brings you back to green.  
Then topped off each jar with another cup of water.  
Now, I let the yarn & dye enjoy the sun for an hour!
At an hour, I  placed the red yarn into a bowl, added 10 drops more of red to the remaining solution, and placed the yellow yarn tail in there. I was feeling I had some errors in logic, but moved to the purple... final decision, 10 more drops of color to each jar and one hank of yarn in each jar.  yellow&red, purple&blue, blue&green, green&yellow, so red&purple.  I let the project enjoy the sun another hour.  
After that hour, I removed each hank of yarn, added 10drops more food color and a splash of vinegar, and placed the yarn back into the jar.  The yarn would enjoy an hour or more in the sun because it was time to take a walk.

An hour later, I squeezed out the excess water while I was outside. Then into the kitchen for 2mins. micro & 2mins. rest. I did this twice for each hank. I made a tally chart to keep track of the yarn going in and out.  The yarn cooled while we ate dinner, then rinsed!  
The yarn rinsed well, no bleeding.  I added a drop of dish soap, and rinsed again.  I rolled it in a few towels and placed it on a sweater rack (with a fan blowing) to dry.  
Once the yarn is dry, it will be held with Knit Picks Wool of the Andes worsted weight to knit Woolie Socks for Wool-Aid


Thursday, October 1, 2020

Socks - Check It Out!


Socks - Check It Out!
work well in a superwash wool blend. The 5/5 checks and color effect are fun to work, and the socks can be knit in just a few days making them the perfect gift or accessory. This may be considered an intermediate level pattern because knowledge of sock (and stitch) construction is helpful.


Finished size:

small: leg height about 9”, 8” foot length

medium: leg height about 10”, 9.5” foot length

large: leg height about 11”, 10.5” foot length


Gauge: 7 stitches = 1”

Adjust needle size, and row count to match gauge.


Materials:

Yarn: size small & medium:50g color A, and 50g color B superwash wool blend in fingering weight,

size large: 75g color A and 75g color B superwash wool blend in fingering weight,

Color A: for cuffs, heels and toes; Colors A & B for color effect.

and 2 yards of waste yarn in a different color to mark placement of afterthought heel.


Photo: Size small: color A: Hawthorne Tonal Hand Painted Fingering by Knit Picks

80% Wool, 20% Nylon 357 yards/100 grams, color: 27409 Sweet Home

color B: Hawthorne Kettle Dye by Knit Picks;

80% Wool, 20% Nylon; 357yards/100grams, color: 26693 Poseidon


Needles: Size US#2(2.75mm), 16”and 24” circular needles; or size US#2 (2.75mm) set DPN


Notions: tapestry needle, stitch markers, 2 yards of waste yarn in a different color, set smaller size DPN for picking up afterthought heel stitches


Abbreviations: CO=cast on       k = knit      p= purl       k2tog=knit 2 stitches together      Rnd/s=round/s      S1= slip stitch purlwise with yarn in back      sts=stitches

A= color A      B= colors B

Special Stitches: 5/5 Checks

Rounds 1- 7: *Knit 5, purl 5; repeat from * to end

Rounds 8- 14: * Purl 5, knit 5; repeat from * to end

(These 10 stitches and 14 rounds create the 5/5 Checks. )

Color effect: Work Odd rounds: Color A; Work Even rounds: Color B


Directions: The directions are written for adult size (small, medium, large) in parentheses, and working with 2 circular needles. (notes are in italic) Make 2 socks.


Use the long-tail cast-on method, with size US#2 needles, with A, cast on (75, 90, 105) stitches.

Place marker & join together by knitting first stitch being careful not to twist,

with A, * K1, k2tog; repeat from * to end. (50, 60, 70) sts


Sock Rib:
(25,25sts per needle; 30,30sts per needle; 35,35sts per needle)

Rnds 1-14: with A, * K1, p1; repeat from * to end (1.5” from CO)


Sock Leg:
(25,25sts per needle; 30,30sts per needle; 35,35sts per needle)

Color effect: Work Odd rnds: Color A; Work Even rnds: Color B

Rnds 1- 7: *Knit 5, purl 5; repeat from * to end

Rnds 8- 14: * Purl 5, knit 5; repeat from * to end


Repeat rnds 1-14, working leg to the desired length, completing rnd 14, set up for heel and foot.

(7”, 8”, 9”) from CO


Instep and Heel set up:

With A, as established, work (25, 30, 35sts)instep stitches.

Drop A yarn, and with a strand of different colored yarn knit across heel (25, 30, 35)stitches, turn, S1, purl back. Drop colored strand, pick up A, and knit across heel (25, 30, 35) stitches once more. After this work instep as established, and knit sole; the heel will be put in later.


Work instep as established, and knit sole until sock measures from heel (colored yarn) marker:

(4.5”, 5.5”,6.5”) for desired length, completing rnd 7 or 14, then set up for toe decreases.


Toe:

Rnd 1 & odd rounds: with A, * K1, k2tog, knit to the last 3 stitches on needle, k2tog, k1;(instep)

repeat from * to end(sole) (4sts decreased)

Rnd 2 & even rounds: with A, knit


Continue until (11, 12, 13)sts remain for instep, and (11, 12, 13)sts remain for sole.

With (22, 24, 26) stitches remaining, cut 18” yarn, and work Kitchener Stitch to finish the toe.


Heel:

Carefully slide the (25, 30, 35)sts below(sole), and (25, 30, 35)sts above the colored yarn(leg) to needles. Carefully remove the colored yarn. Pick up one stitch at the beginning and end of the needles.

Attach A yarn, knit a round.

(You'll have (27, 32, 37)sts on each needle, and this will help avoid “holes” on the heel sides.)

Now work the heel the same as the toe.

Rnd 1 & odd rounds: with A, * K1, k2tog, knit to the last 3 stitches on needle, k2tog, k1;

repeat from * to end (4sts decreased)

Rnd 2 & even rounds: with A, knit

Continue until (11, 12, 13)sts remain for sole, and (11, 12, 13)sts remain for leg.

With (22, 24, 26) stitches remaining, cut 18” yarn, and work Kitchener Stitch to finish the heel.


Finishing:
Weave in tails. Make second sock.

This pattern is available on marilynnsgardenknitdesign.blogspot.com

Socks - Check It Out!  pattern pdf is available on Ravelry.

Copyright 2020, Marilynn Blacketer. All rights reserved. 10-1-20

For pattern support please contact: marilynnblacketer@gmail.com